I found this great tutorial on craftster and i thought it would be perfect for this project. This bag has a strap and button closure, but i modified it to have a magnetic closure.
To make the satin hold the pleats and to strengthen the cotton I lined all the fabric with fusible web.
I cut each of the liner and main fabric too the same size. I determined this size to be twice as big as I wanted the bag to be. you can figure this out with a piece of newspaper or something and fold the paper "taco" style [vs. "hot dog" style] till you have about what size bag you want.
The smaller rectangle is to make the decorative cap on the top. this needs to be twice as wide and twice as long as the length of the opening at the top of the bag.
This picture shows all of my fabric cut and ironed with the associated cut pieces of fusible web. NOTE: make sure you iron your fabrics ahead of time because the wrinkles will be "locked -in" once you iron on the fusible web.

happy ironing...
 Now that everything is ironed! We can move onto the next step.
NOTE: In some cases i think it would have been better for the web to go closer to the edges on both fabrics. The satin tends to fray and having the web going to the edge would prevent more of this from happening. Also the corners of the bag were not as perfectly square because the web didn't get to the corners of the bag. I was just getting the most from the web to have little excess and to not have to run back out to the fabric store to get more web.
 forming the pleats, step 1: lay out your piece of fabric wrong side up
 forming the pleats, step 2: fold it in half taco style [the size you want the bag] mark the centers with pins and unfold
 forming the pleats, step 3: now fold in half hot dog style and bring the fold down about an inch or so
 forming the pleats, step 4: fold the top fabric back to make an inch or so wide fold and pin in place. congratulations you have made your first pleat.
 forming the pleats, step 5: turn the fabric over and repeat pulling the fabric down the same inch or so
 forming the pleats, step 5: fold the top fabric back and pin an inch or so wide piece of fabric in place. you now have two symmetric folds around the center point we found in step 1.
 forming the pleats, step 6: repeat this making even pleats back and forth across the center until you have a few inches worth.
 what step 6 looks like on the good side of the fabric
 forming the pleats, step 7: now carefully sew all the pleats you just made in place
 step7 completed
 next fold the bag back up taco style inside out. at this point "fluff" the bag/ unfold some of the pleats to create the u shape in the bag. Then square off the top by cutting as shown.
 now you need to sew the edges in place. be careful to get both side of the fabric and hopefully some of the feasible web because satin can fray easily. after you have sewn the edge shut on both sides, do a little "stress test" to see if the edges fray if they do re-sew them shut and test again. once the stitching is solid trim the excess on each end.
 here are my five finished bag bases, in-side out
 here are my five finished bag bases, right-side out.
 next since each of the shapes were a little different on the back of the lining I traced the bag.
 folded it in half, sewed around three of the edges, leaving the top open and trimmed the three edges i sewed leaving any extra fabric at the top to attach the collar.
 the liner fits into the bag.
 all of the bags with their liners
 now for the collar take one of small rectangles
 fold it in half hot dog style
 and then in half again taco style
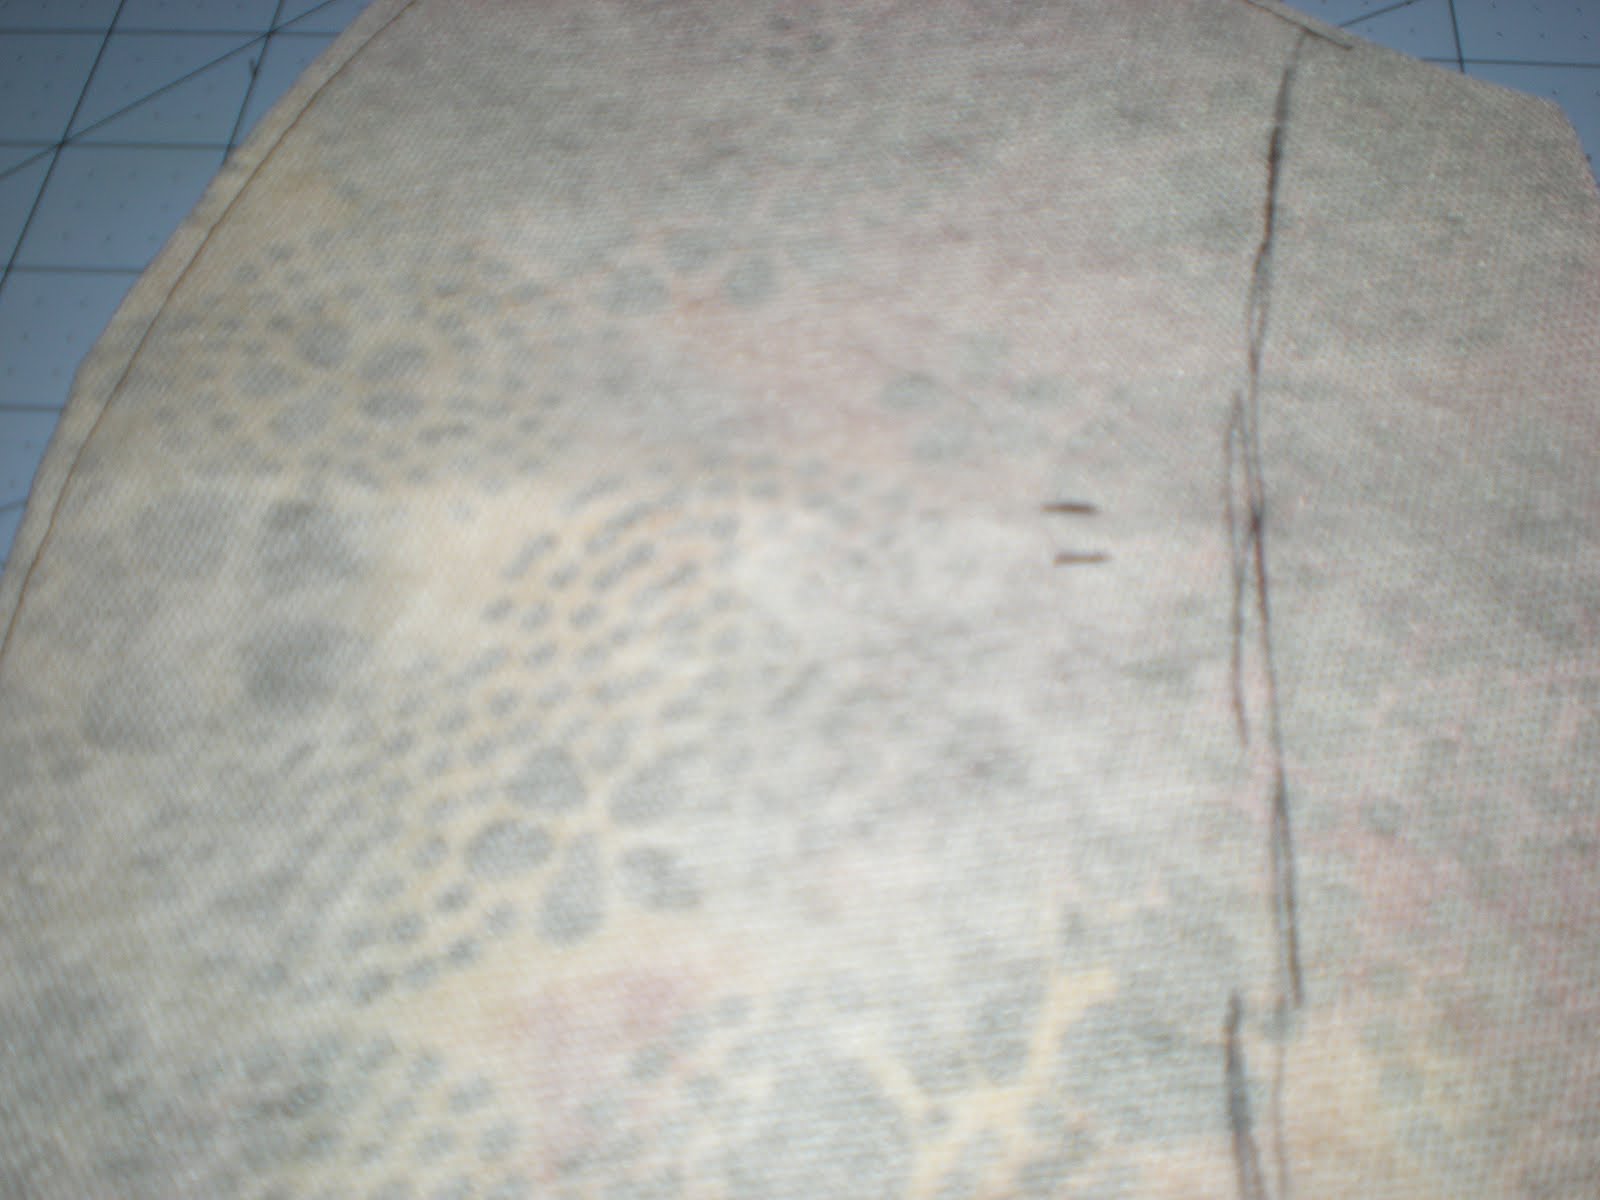
 trace the center of the curve of the bag onto the collar with the folded edges to the top.
 here is what the trace looks like.
 to transfer the curve to the other side of the fabric i put pins in along the way at different junction points
 flipped it over
  and drew a line between the pins on the other side
 I then unfolded the collar
 sewed along the line i just drew and cut off the excess.
 with the bad side still out I unfolded the collar and sewed the edges together
 the finished collar
 basic idea of how all the pieces fit together.
 now time for the magnetic clasp. I folded the liner in half and marker the center just under the line marking the top of the bag.
 i placed one side of the clasp under the fabric to mark where my two parallel cuts would need to be made
 what one side of the clasp and its "washer" look like with the cut holes
 first you place the clasp in the holes with the business end on the good side of the fabric
 then you slip the washer in over the tabs
 and with a pair of pliers you bend the tabs down to secure the clasp in place
 then you repeat on the other side place the other end of the clasp into the side you just installed and mark where you need to make cuts. this way you know the clasp will line up when you are done. finish as before.
 to attach the collar fold down the excess on the top of the liner and pin the collar in place around the opening and hand sew in place. [i didn't do this until later but easy enough to do now]
 the liner now fits nicely into the bag view 1 and a view of the finished clasp
 the liner now fits nicely into the bag view 2
 all of the bags semi assembled
 now is when i am getting the collar sewn in
 and the fancy button sewed onto the front
 once the collar and the button are sewed in place carefully sew the collar onto the bag.
ta da! five finished bags.


